Hello! Yes, It's me again. hehehe I'm loading you all down with posts this week. I hope you are all having a beautiful day! Today I'd like to share with you a fun project that I have been itching to do. I saw a picture of it posted somewhere and I though it was just the perfect way to store my crochet needles and then other items as well.
I have different sized embroidery hoops that I already had some fabric in from a display I did at the last place I lived. Thus far since moving they'd just been stacked away in a safe place. So I was already partly there. Now I have my hoops hung up with those non-marking hooks on the wall in my sewing/ craft area.
What follows is a bit of a tutorial on how I made my hoop storage thingy's if you'd like to see how I put them together. :) Hope it's clear enough for you to follow easily.
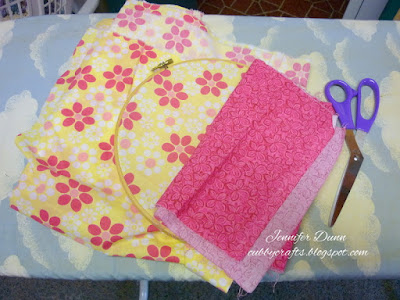
First pick out some material you'd like to use. I had just a couple different ones, but you could use the same kind or three different ones....you choose.
I cut a piece to fit the whole hoop, and one to fit about 2/3 of the way over top.
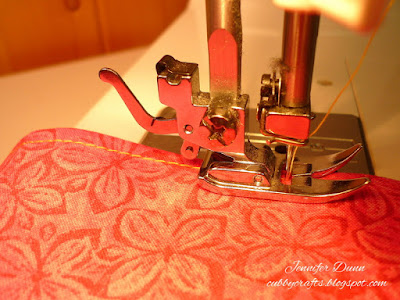
Then using a good hot iron, baste the edge of the overlapping fabric down on the one side. ( I use about a 1/4- 1/2 inch myself.) That way it won't unravel on you. Then sew along the basted line to keep it in place.
Then set the material over the larger piece and pin it together in the desired place. Then you need to sew some vertical lines to make your pouches. You can add as many as you'd like and in varying widths. I just eyeballed mine, so they aren't all the same. LOL
The next step is to add a smaller band or ribbon. This is to keep all the items you're storing at the same level. If you make a band, you need to remember to bast it under and then sew it down on each bast line so that it's secure. When I used the ribbon, I just used one sewed line for it.
Now it's time to put it on the hoop. Lay the material over the inner circle and secure with the outer circle. Final step is turn it over and cut off the excess material.
Voila! You're done. Now you can fill it and hang it up in a convenient spot. :)
Thanks so much for dropping by and I pray that you enjoyed the tutorial. It's always fun to try new things, and to create things that are not only functional but pretty!
Sharing at Art of Homemaking Mondays.


2 comments:
What a fun and useful project! Thank you for sharing with us!
So cute AND wonderfully functional. :-) I really liked your covered jar lids too. Sorry I'm behind in visiting. I've been swamped. Hugs!
Post a Comment